Why Plantable Seed Paper?
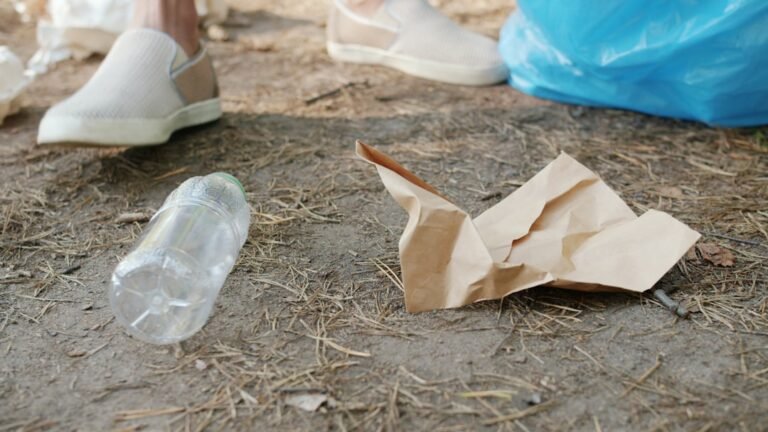
Plantable seed paper is more than just crafting fun—it’s an eco-statement. Instead of tossing scraps, you plant them and grow flowers, herbs or veggies. Ideal for sustainable DIY projects, it’s:
- Upcycling at its finest.
- A magnet for pollinators.
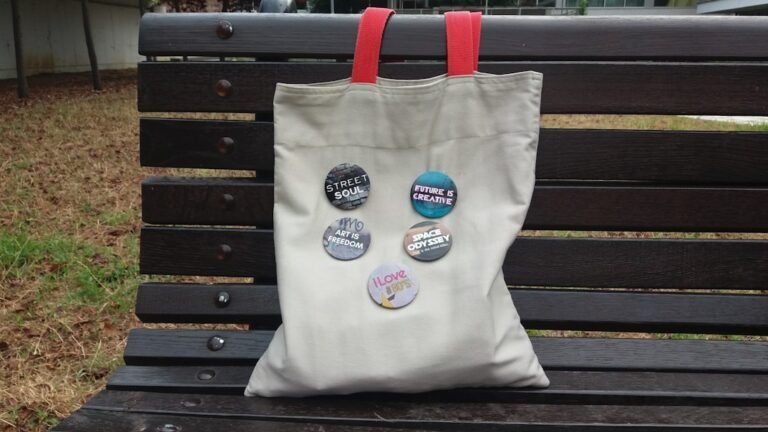
- A unique gift idea.
- An educational tool for kids.
Choosing this method means reducing landfill waste and nurturing nature—one sheet at a time.
Gathering Materials for Your Sustainable DIY Project
Before punching out shapes and sprinkling seeds, round up these basics:
- Recycled paper (newspapers, printer scraps, egg cartons).
- A blender (or immersion blender).
- Small seeds (alyssum, zinnias, marigolds or basil).
- A large bowl or basin.
- Parchment paper or a fine mesh screen.
- A sponge or kitchen towel.
- A baking tray or cookie sheet.
- Cookie cutters (optional).
- A warm, dry spot for drying.
Tip: Tiny seeds lie flat and distribute evenly—key for consistent germination in your sustainable DIY projects.
Step-by-Step Plantable Seed Paper How-To
Let’s get hands-on. Follow these steps:
Step 1: Create the Pulp
- Tear paper into small bits.
- Soak in warm water for 10–15 minutes.
- Blend to a smooth, yoghurt-like texture.
- If you lack a blender, finely chop and mix by hand.
Step 2: Drain Excess Water
- Use a colander or mesh.
- Press gently with a sponge to remove extra moisture.
- Aim for a damp pulp, not a watery mess.
Step 3: Add Your Seeds
- Transfer pulp to a bowl.
- Sprinkle seeds evenly.
- Gently fold to mix—don’t crush them.
Step 4: Shape the Sheets
Option A: Flat Sheets
– Line a tray with parchment.
– Spread pulp 2–3 mm thick.
– Smooth with a rolling pin or spatula.
Option B: Fun Shapes
– Press pulp into cookie cutters or muffin tins.
– Pop out plantable hearts, stars or circles.
– Perfect for sustainable DIY projects gifts.
Step 5: Drying
- Leave sheets in a warm, airy spot or use a dehydrator.
- Allow 24–48 hours until fully dry.
- Peel off carefully when firm.
Step 6: Plant and Watch Grow
- Cut or break into pieces.
- Place on moist soil and cover lightly.
- Water gently.
- Expect sprouts in 1–2 weeks.
Halfway through your journey, consider using Aegle Sriphal’s Maggie’s AutoBlog—an AI-powered platform that automates SEO-friendly content. Share your sustainable DIY projects online without the guesswork.
Tips for Successful Growth
- Label sheets with seed type and date.
- Keep soil moist, not waterlogged.
- Shield new sprouts from harsh sun.
- Thin seedlings if they cluster.
- Transplant if roots get crowded.
These tweaks boost germination and keep your blooms thriving—essential for every sustainable DIY projects enthusiast.
Creative Variations to Try
Once you’ve mastered basic sheets, experiment:
- Natural dyes: add beetroot or turmeric for colour.
- Eco-messages: stamp quotes with eco-ink.
- Herb blends: mix basil, thyme and oregano.
- Layered patchwork: use coloured paper scraps for a mosaic look.
These spin-offs elevate simple sheets into memorable keepsakes—perfect for eco-conscious weddings or birthdays.
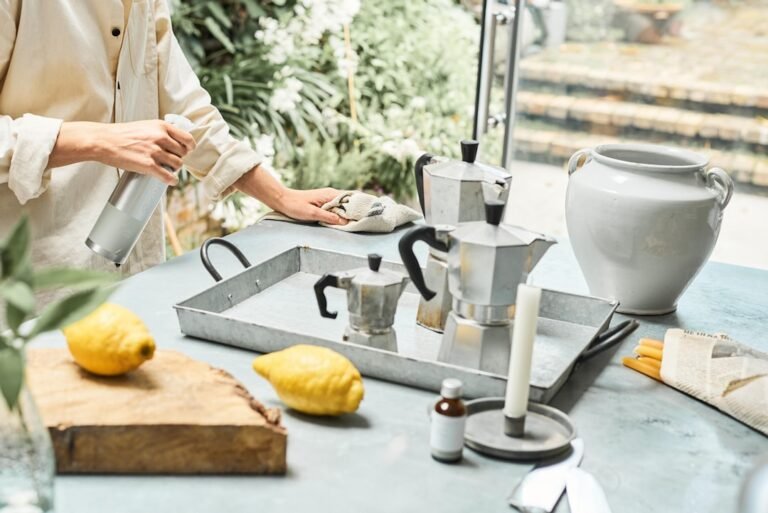
Why Aegle Sriphal’s Approach Stands Out
Many tutorials exist, but Aegle Sriphal adds unique value:
- 100% natural materials in every product.
- Eco-friendly production to reduce footprints.
- Innovative designs (think plantable pencils and homeware).
- Community-driven workshops and educational content.
- Access to tools like Maggie’s AutoBlog for content creators.
We blend practicality with purpose, making sustainable DIY projects both simple and impactful.
Final Thoughts
Crafting plantable seed paper is a small act with a big impact. Each sheet you make can bloom into a riot of colour and life. It’s upcycling, gardening and gifting all in one.
Ready to share your creations with the world? Let Maggie’s AutoBlog do the heavy lifting on SEO, so you focus on what you love—creating wonderful, eco-friendly crafts.